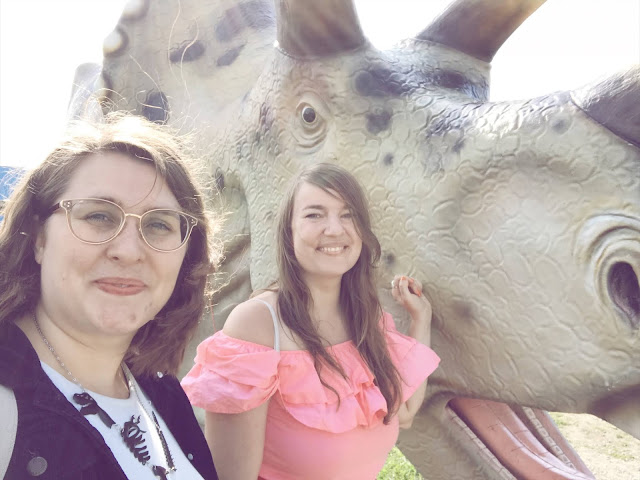


Let's just ignore the fact, that this post is also a couple of years in the making as well as the Star Wars Art Print Post from a month ago. We won't ignore the fact that my dear Lu from Luloveshandmade already made 2 posts about our trip to Jurassic Park. Check those out HERE and HERE! She also posted about a permanent Dino Park near Berlin. All of the Dino Park photos are by her, except for the last one.
So one late summer day in 2018 Lu and I went to a temporary dinosaur exhibit in Berlin. The most awesome part? You could climb on the Dinosaurs. So fun! Of course I had to bring my most recent diy, this awesome dinosaur skeleton necklace made from shrink plastic.
~
Wir ignorieren mal den Fakt, dass dieser Post auch schon ein paar Jahre auf seine Veröffentlichung wartren musste, genau wie der Star Wars Kunstdruck Post von vor einem Monat. Wir ignorieren aber nicht, dass meine Liebste Lu von Luloveshandmade bereits 2 Posts zu unserem Trip nach Jurassic Park verfasst hat. Schaut mal HIER und HIER! Zusdätzlich gibt es bei ihr auch einen Post zu einem permanenten Dino Park nahe Berlin. Alle Dino Park Fotos außer dem letzten sind von ihr.
Es begab sich also an einem Spätfrühlingstag im Jahre 2018, dass Lu und ich diese temporäre Dino Ausstellung besuchten. Der beste Teil daran? Man konnte auf die Dinos raufklettern. So viel Spaß!
Natürlich musste ich passend dazu mein letztes DIY mitnehmen, diese großartige Dino Skelett Kette aus Shrink Plastik.
//
And here's how I made it: ~ Und so habe ich diese gebastelt:


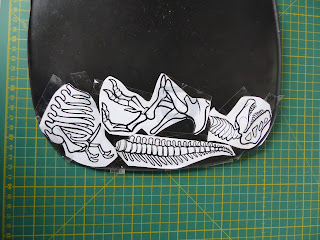
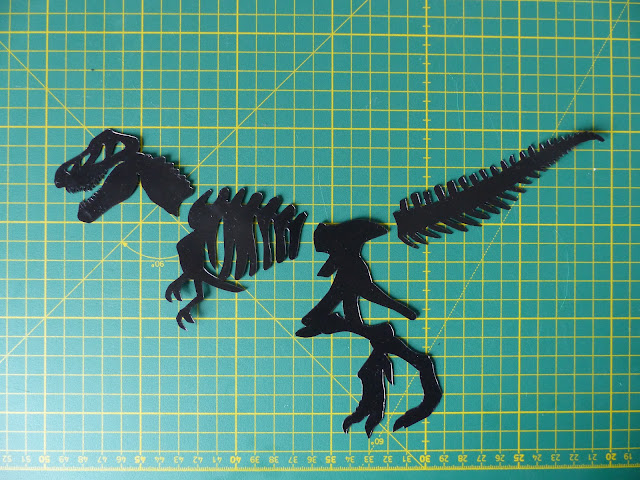
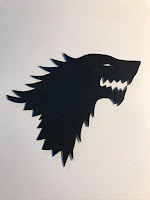


It begins, as most good stories do, with a take out dinner, Sushi, to be specific. And most Sushi take out comes in plastic boxes marked with No 6 plastic. This is very important! Only plastic no 6 will work as shrink plastic. So I printed out a picture of a dinosaur skeleton and cut it into pieces where I would want my necklace to be connected with rings. I cut those parts out with a scalpel and also made a direwolf, Tina from Bobs Burgers and Sherlock to make pins or magnets.
The skeleton parts then got holes for the necklace rings, it's important to do this before melting the plastic.
Then heat your oven to 325°F (ca.170°C), and place your plastic in the center of a baking sheet. Once the oven is preheated, place the baking sheet on the top rack. After a bit, the plastic will curl, shrink, and then flatten out. Which is when you want to remove the baking sheet immediately.
I put a heavy book on my shrinky dinks while cooling down, because the black plastic is a bit more complicated than the seethrough one, but it worked out.
Then attach rings, chain & lock and we have a necklace.
~
Es begann, wie viele gute Geschichten, mit einem Take Out Abendessen, Sushi im Speziellen. Und die meisten Sushi Take Outs kommen in einer Plastik Box marktiert mit einer Nr.6. Das ist sehr wichtig, denn nur Nr.6 Plastik kann als Shrink Plastik verwendet werden. Das Dinosaurier Skellett habe ich mir ausgedruckt und so zerteilt, wie ich es an der Kette später mit Ringen verbinden wollte. Die Teile habe ich dann mit einem Skalpell ausgeschnitten, dazu noch einen Schattenwolf, Tina von Bobs Burgers und Sherlock um Pins und Magneten zu basteln.
Die Skelett Teile habe ich dann noch mit Löchern versehen, es ist wichtig, dies vor dem "schrumpfen" im Ofen zu tun.
Den Ofen heizt man auf 170°C (ca. 325°F) hoch und platziert die Plasstik Teile in der Mitte eines Backblechs. Dieses Backblech kommt nach dem Vorheizen auf die höchste Ebene. Nach kurzer Zeit wird sich das Plastik verformen, schrumpfen und dann wieder flach liegen. Direkt danach wird das Blech aus dem Ofewn entfernt. Ich habe auf meine Plastikteile zum abkühlen eine schweres Buch gelegt, weil das schwarze Plastik eine wenig widerspenstiger als das durchsichtige ist, aber es hat trotzdem funktioniert.
Dann nur noch Ringe, Kette & Verschluss befestigen und wir haben eine Kette.
//
Bute now to the good part, our Dino Park Adventure Shoot ~ Aben nun zum spannendsten Teil, unserem Dino Park Abenteuer Shoot


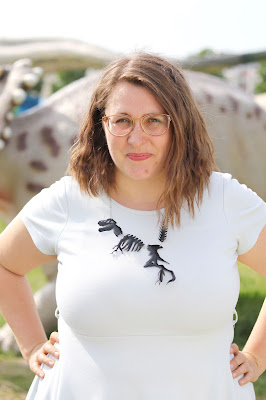
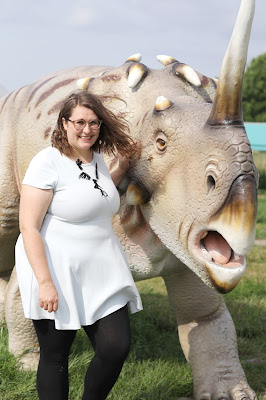


A bunch of thanks to Lu from Luloveshandmade for the amazing pictures and a blast of a time!
~
Herzlichen Dank nochmal an Lu von Luloveshandmade für die fantastischen Fotos und einen wundervollen Tag!
