My old phone case was pretty fucked up not even a year after I got it, so I went on the search for a new case. Nothing really cought my eye and I couldn't find the same one again, so I decided to take it apart and make a new phone case! Easier said than done. It took me three weeks to finish this project. Mostly because of the tons of hand stitching and waiting for glue to dry, but also because I took loads of breaks during our staycation this summer.
So this is what I started out with:


I took off the actual phone case to use for my new case as this was pretty sturdy itself. Then I used the cover to trace a stencil.

Then I took the cover apart to see how it is aligned inside and to recover the magnets for the closing mechanism (which didn't quite work out the way I imagined).

I used the stencil to cut out two big felt pieces for the cover and two cardboard pieces to glue in between the felt to strengthen the cover. I also cut out Beemos face and all the colourful buttons and Letters that make up Beemos outside. I also cut out a pocket with batteries and speakers for the inside.


Time to glue it all together! I definitely wanted to stitch on all the details, but I figured that glueing it all in place first wouldn't hurt.


The stitching along took me more than a week alone, also waiting for the glue to dry... But it was definitely worth it. I love the way the stitching turned out (you can click on the pictures to get a detailed look).

This is what the front looks like from behind.

I also stitched on some "wiring" on the inside above the "battery pocket".

The outside cover and the pocket needed to get lined with interfacing to make sure the stitching is set and nothing get stuck in the pocket. Then I attached the pocket to the inside cover.

I made the mistake of cutting out the same size for the inside and the outside cover, so when I tried it on with the case inside the outer felt was way too small and the inside bunched up. So I had to make the hard decision to cut the outside cover into three pieces. And believe me, it was a really hard decision... so much work for such a small piece of felt! But I did it. And it worked out!


Now I just needed to glue the cardboard and magnets into place. Like I said, the magnets didn't really work out. The inside felt was too thick for the magnets to connect and close the cover. So after the glue had set I had to carefully tear both sides where the magnets resided apart again and used a push button instead. A little more crude than a magnet seal, but a lot more efficient.
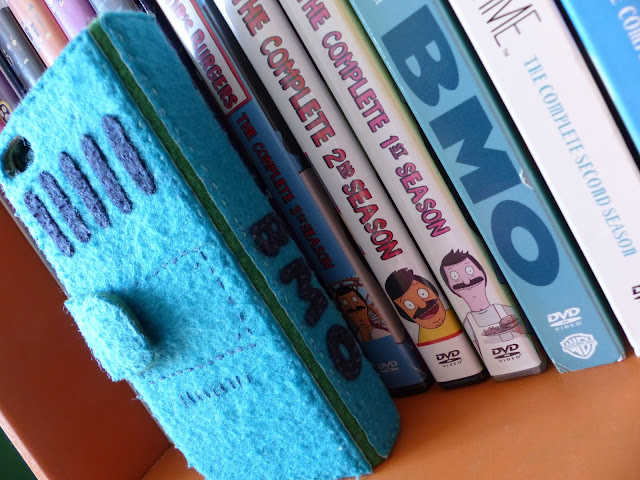
So after all of that of course I had to stitch all around the cover as well to get a finished look for my beautiful new Beemo phone case.
Check it out:


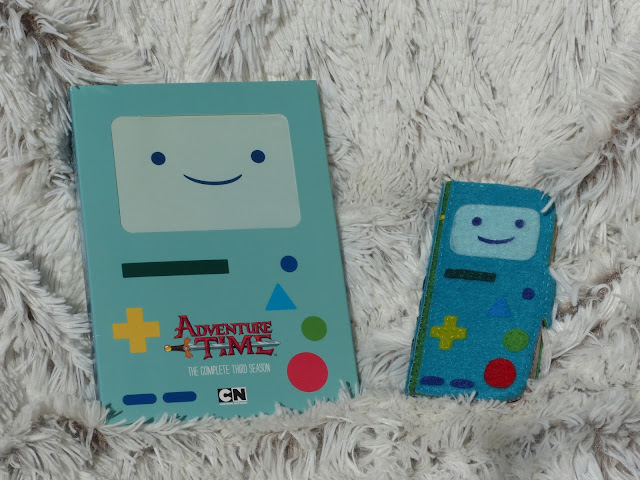
And here's the comparison to the "role model":


I really love the way it turned out! I've been using it for a couple of weeks now. The felt is pilling a little bit, but I can just pick it off if it bothers me too much. I just hope clumsy old me doesn't get it dirty somehow, because I don't think it'll be easy to wash. Here's hoping!
Now I've always a friend with me <3
